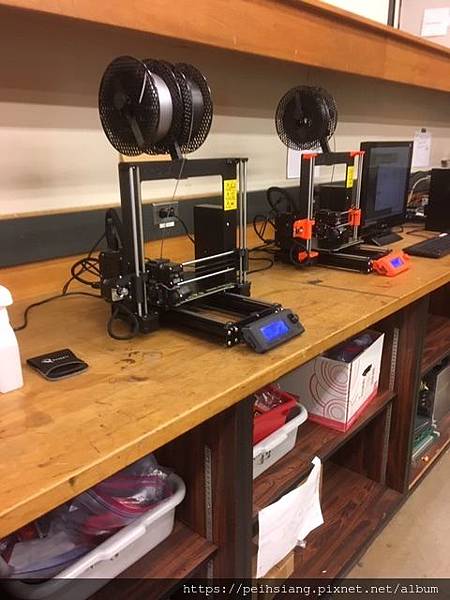
There were two 3D printer added to the teaching Lab, and I was so luck to get the training done before I fly home for short vacation.
The overview of 3D printing and run a part took less than two hours.

Since I learn how to use invrntor, a mechanical design and 3D CAD software, it makes me speed up the learning process.
In the begining, we were introduced the working flow: Design (ipt) --> Export (stl) --> Slice (gcode) --> Print & Test. This project required patient since the printing time maybe a little longer than you expected.
When we were able to put our hands on the machine, I was a little exciting about what I can make. The learning process is not only try error but also
I did some measurements, and use inventor to drawing it out. I did have some issues right after slice the part. There was a limit thickness for the part. (0.4 mm is the lower limited, and I designed 0.3mm) So redesign the part in the inventor and then try it again. We did print out something but it was a little smaller than we expected. After changing the scale on the software, we had the final part done.

p.s. If you do not know how to do the design part, you might just search online to find someone's sharing part.


 留言列表
留言列表
